A well-prepared brief is the foundation of any successful 3D product rendering project. When our team has the right context upfront, we can scope your project accurately, recommend the most cost-efficient approach, and identify opportunities to maximize the value of your CGI investment.
Clear, thoughtful briefs help us understand not just what you need, but why you need it. That clarity allows us to anticipate challenges early and deliver visuals that truly support your goals, whether that’s photorealistic imagery, interactive experiences, or animation built for multi-channel use.
In this blog, we will outline what we recommend including in your 3D product rendering brief, and why each piece matters.
1. Product Overview
Start by clearly describing your product and its purpose. This gives the rendering team critical context around functionality, positioning, and visual priorities. Include details about the industry, target audience, and how the product is intended to be used in the real world.
If your product includes unique design details, innovative features, or internal components that differentiate it from competitors, call those out early. Knowing which elements are most critical allows us to focus modeling and rendering effort where it delivers the most value, whether that’s external form, surface detail, or internal mechanisms that require cutaway or exploded views.
Checklist
- Describe your product and its purpose
- Share the industry and target audience
- Note unique technical, functional, or design features
- Highlight critical components or internal elements that need to be shown
2. Desired Deliverables
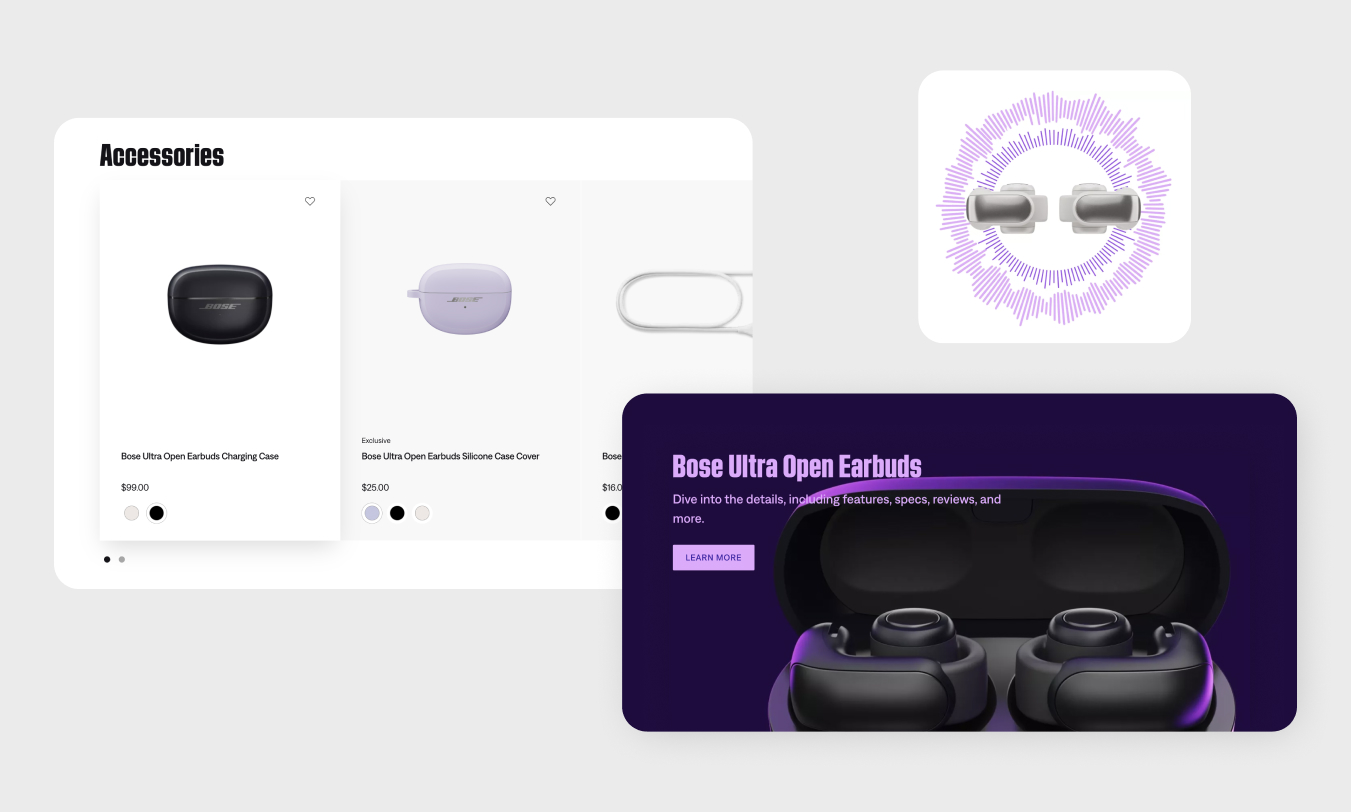
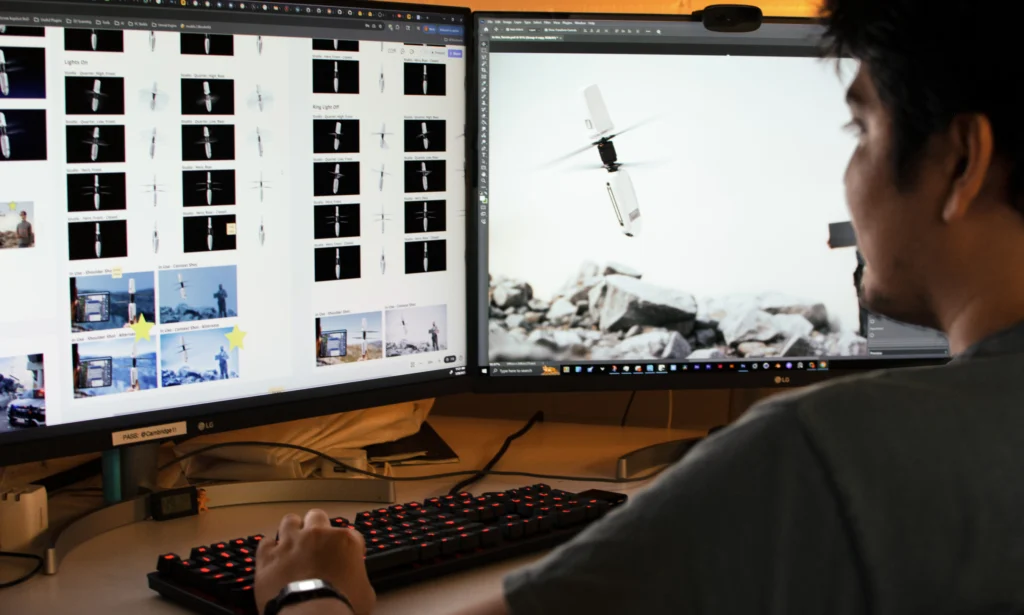
Be specific about the types of 3D visuals you’re looking for. This might include hero images, lifestyle scenes, exploded views, 360° spins, animations, configurators, or interactive demos. Each deliverable type comes with different production considerations, timelines, and levels of detail.
Clearly defining deliverables upfront ensures your CGI assets are fit-for-purpose and optimized for how they’ll actually be used. It also allows our team to recommend smart efficiencies, such as building a core asset set that can support multiple outputs.
Checklist
- Identify required asset types (hero images, lifestyle scenes, 360° spins, exploded views, animations, configurators, interactive demos, etc.)
- Indicate approximate quantity of each deliverable
- Note any required resolutions, aspect ratios, or formats
3. Intended Use of Assets
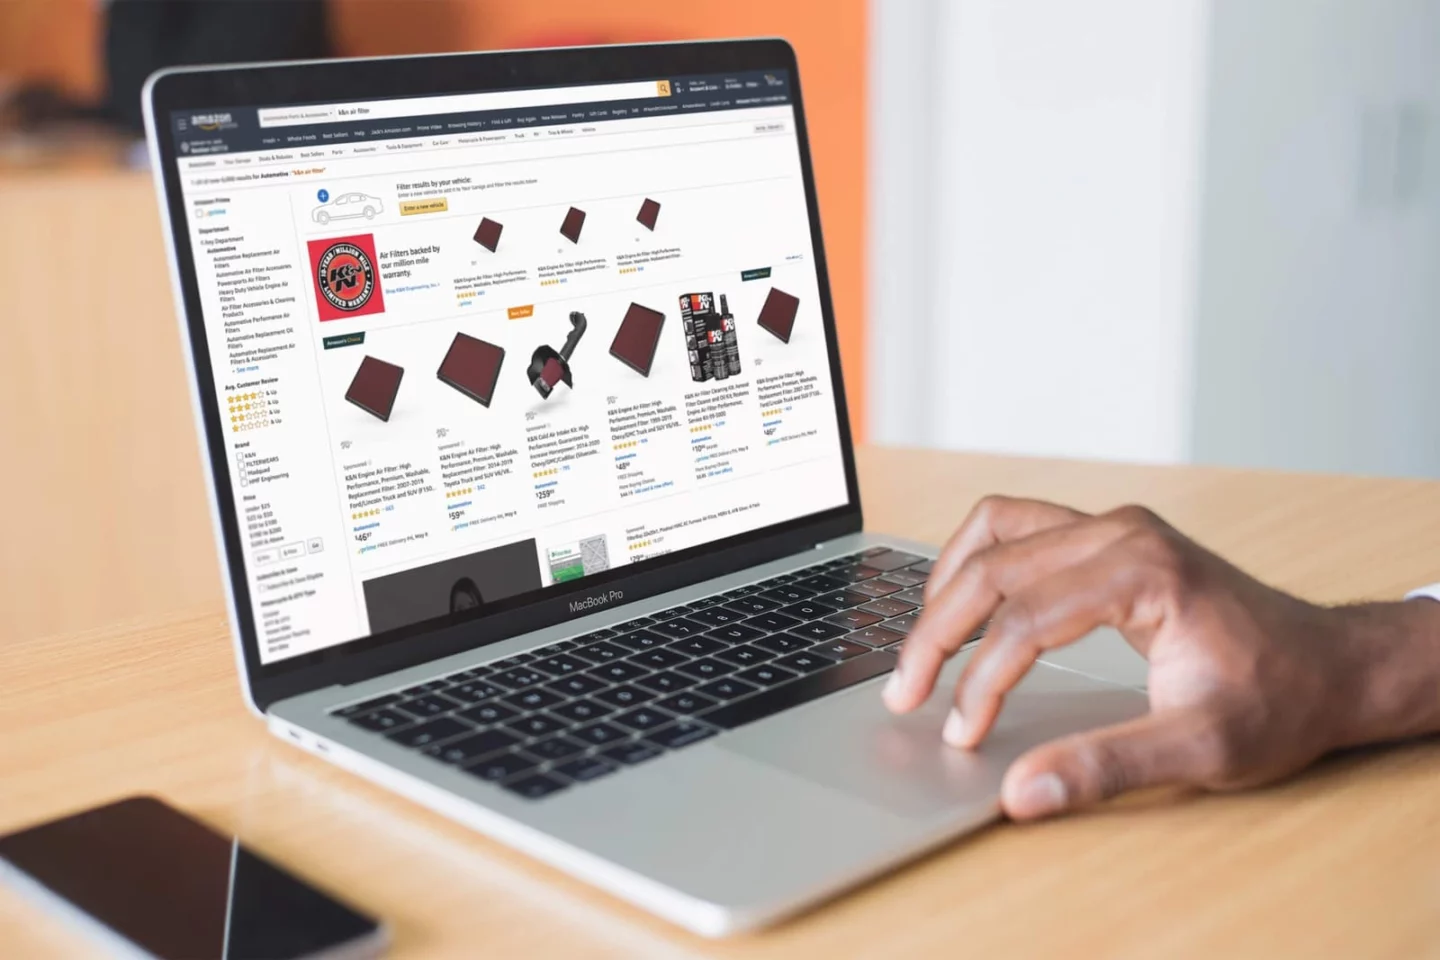
Where and how your visuals will be used plays a major role in how they should be created. Assets designed for e-commerce, for example, often prioritize clarity, consistency, and speed to load, while marketing campaigns may call for more expressive lighting, storytelling, or environmental context.
Sharing usage details helps us recommend the right camera angles, rendering fidelity, and level of polish for each application, ensuring your visuals perform well across all channels.
Checklist
- List where the assets will be used (e-commerce, marketing campaigns, sales decks, social media, trade shows, internal reviews, AR/VR, etc.)
- Identify primary vs. secondary use cases
- Flag any platform-specific requirements or constraints
4. Scope of Products and Variants
Understanding the full scope of products and variants upfront allows us to design a rendering setup that scales efficiently. Planning for multiple SKUs, colorways, or configurations early on helps reduce duplication, control costs, and create reusable assets that support future campaigns.
If you anticipate updates, seasonal launches, or product line expansions, this is especially important to flag early so we can build flexibility into the production approach.
Checklist
- Number of products or SKUs
- Colorways, materials, or configuration options
- Seasonal or campaign-based variations
- Anticipated future updates or expansions
5. CAD Availability
CAD files provide a strong starting point for accurate 3D modeling, but they’re not required. Letting us know what files or references are available helps us plan the modeling workflow and timeline appropriately.
If CAD isn’t available, we can develop accurate models using sketches, photographs, physical samples, or reference measurements. The more complete and accurate the input, the faster we can model your product and move into rendering.
Checklist
- Confirm whether CAD files are available
- Specify file formats (STEP, IGES, SolidWorks, etc.)
- Share any supplementary references (sketches, photos, dimensions, physical samples)
- Note known inaccuracies or limitations in the source files
6. Timeline and Key Milestones
Clear timelines help us align rendering production with your internal processes and external launch plans. Sharing deadlines early allows us to structure production phases, review checkpoints, and revision cycles in a way that keeps projects moving smoothly.
If your project supports a larger campaign or launch, knowing key milestones helps ensure assets are delivered in the right order and at the right time.
Checklist
- Final delivery deadline
- Campaign or launch dates
- Internal review or approval milestones
- Flexibility (or constraints) around revisions
7. Additional Notes and References
This is the place to include anything that doesn’t neatly fit elsewhere but still impacts the final outcome. That might include branding guidelines, CMF requirements, lighting preferences, or technical constraints.
Visual references are especially valuable. Links to inspiration, competitor examples, or past campaigns help align expectations around style, mood, and level of realism. Flagging known challenges or areas of uncertainty upfront also helps us proactively problem-solve instead of reacting late in the process.
Checklist
- Branding or visual identity guidelines
- Style preferences for lighting, materials, or environments
- Technical or production constraints
- Links to reference images, campaigns, or inspiration
- Known challenges or areas of uncertainty
Download Our 3D Product Rendering Brief Checklist
Instead of starting from scratch, you can use our 3D product rendering brief checklist to streamline the process. It’s designed to capture all the key inputs, helping you organize your requirements, align stakeholders, and kick off your project faster.
Whether you’re working with an internal team or an external partner, this checklist ensures nothing critical gets missed.
→ Download the checklist to build a clear, comprehensive brief.
A Strong Brief Sets the Stage for Better Results
A thoughtful 3D rendering brief does more than outline deliverables. It sets expectations, creates alignment, and allows your rendering partner to make informed decisions that save time, reduce revisions, and maximize the long-term value of your CGI assets. When goals, constraints, and use cases are clearly defined upfront, the entire process becomes more efficient and more effective.
The information you share helps us recommend the right level of fidelity, identify opportunities for scalable asset creation, and tailor visuals that support your product across e-commerce, marketing, sales, and beyond. Whether you’re launching a single SKU or building a reusable rendering system for ongoing campaigns, strong briefs lead to stronger outcomes.
If you’re planning a 3D product rendering project and want guidance on shaping your brief or defining the right deliverables, our team is happy to help. Get in touch with our CGI team to discuss your project.